Professional Floor Installation Services
Expert vinyl plank and hardwood flooring installation in Austin, TX. We install floors you purchased elsewhere or provide complete flooring solutions.
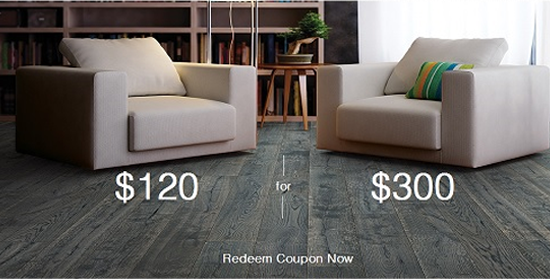
Special Offer
$120 = $300
Installation Credit
Our Installation Services
Whether you bought your flooring elsewhere or want our premium products, we deliver exceptional results.
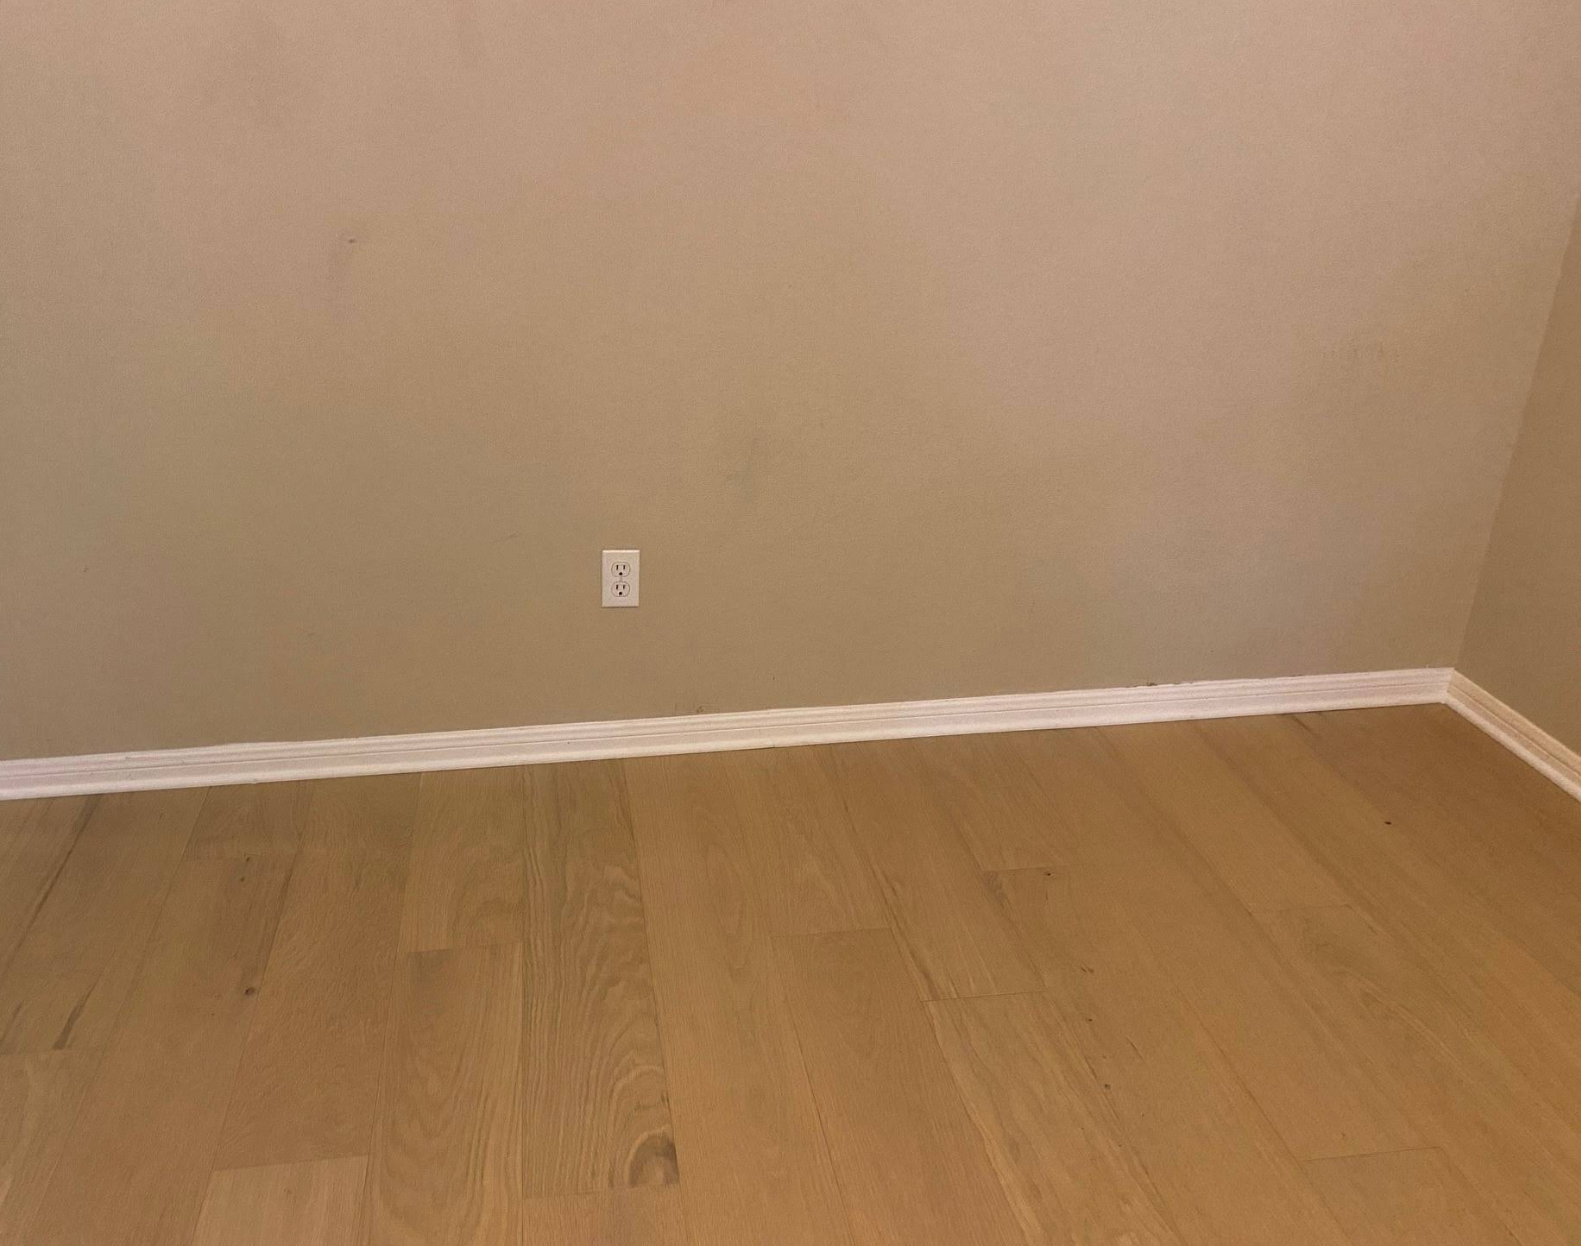
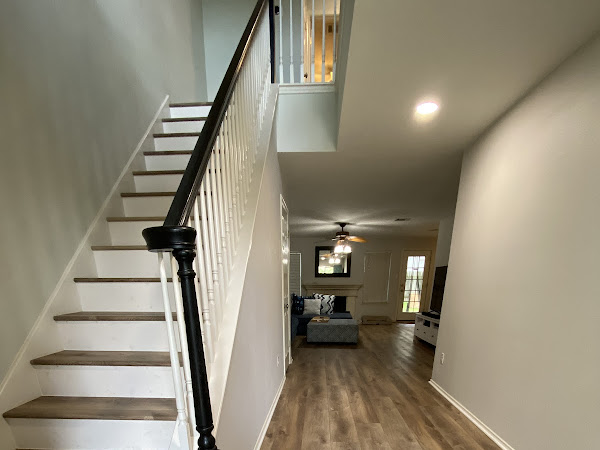
Hardwood Installation
Expert nail down and glue down hardwood floor installation by master craftsmen.
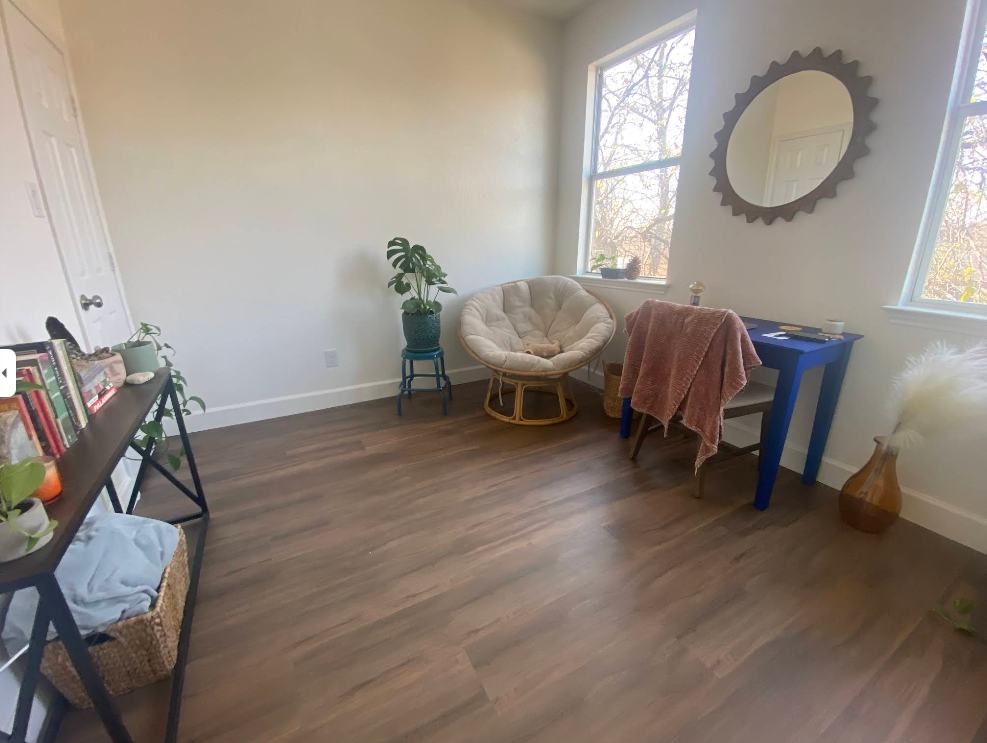
Solid & EngineeredVinyl Plank (LVP)
Waterproof vinyl plank flooring installation with click-lock or glue-down methods.
100% WaterproofLaminate Flooring
Beautiful laminate floor installation that's scratch and dent resistant.
Budget FriendlyInstallation Rates
Competitive pricing with no hidden fees. We provide transparent quotes before any work begins.
$2.50 - $4.50 / sq ft
Labor only installationNote: Hardwood glue down and vinyl plank click installation rates are the same
Why Choose Us?
-
100% Satisfaction Guaranteed
-
Lifetime Installation Warranty
-
Fully Insured Crews
-
No Money Down Required
-
Free Moisture Testing
-
Master Craftsmen Only
Our Installation Process
Simple, transparent, and hassle-free from start to finish
Contact Us
Call or book online for a free consultation
Free Estimate
We visit your home and provide a detailed quote
Professional Install
Our experts install your floors with precision
Enjoy Your Floors
Pay only when you're 100% satisfied
Hardwood Floor Installation Steps
For those doing it themselves, follow these professional guidelines
Before starting, ensure all walls are not leaking water. A/C systems must be functioning properly. Exterior drainage must be in place to prevent rain water from flowing towards the building.
- Wear safety goggles for eye protection
- Use soft rubber or cushion knee pads (not hard plastic)
- Consider a back brace for lifting heavy boxes
- Do not wear metal tip boots that can scratch hardwoods
- Use fans facing outside for dust control
Cut carpet into 3'x3' squares for easy handling. Remove tack strip carefully with a crowbar. Remove baseboards or plan to use shoe molding.
Apply water to loosen paint and debris, then scrape with a floor scraper. Vacuum all residue thoroughly.
Level floor with a straight edge: 3/16" for every 10 feet or 1/16" for every 6 feet.
Use Portland-based leveling compound from Parabond, Ardex, Mapei, or similar. Grind down high spots with a chipping hammer.
Use a digital moisture tester. Moisture content should be within 4% between your slab and wood flooring.
Undercut door jambs with a proper door-jamb cutter. The notch should be 1/16" above the hardwood floor thickness. Use a plank as a guide for consistent cutting.
Establish direction for hardwood floors (longest wall preferred). Measure and mark with pencil arrows pointing to your working direction. Pop a chalk line between your marks.
Open several boxes at a time for proper shade mixing. Spread glue within your marked area (add 1/4" expansion gap). Follow manufacturer's spreading method.
Recommended: Bostik Moisture Cured Urethane Adhesive for moisture protection.
Don't take our word for it

Kyle Heflin

Luke Despain